
Experiencing cable problems that need immediate attention? How quickly can these 5 simple tips help you fix them?
2026-02-11 10:49You can solve most cable problems fast if you know what to look for.
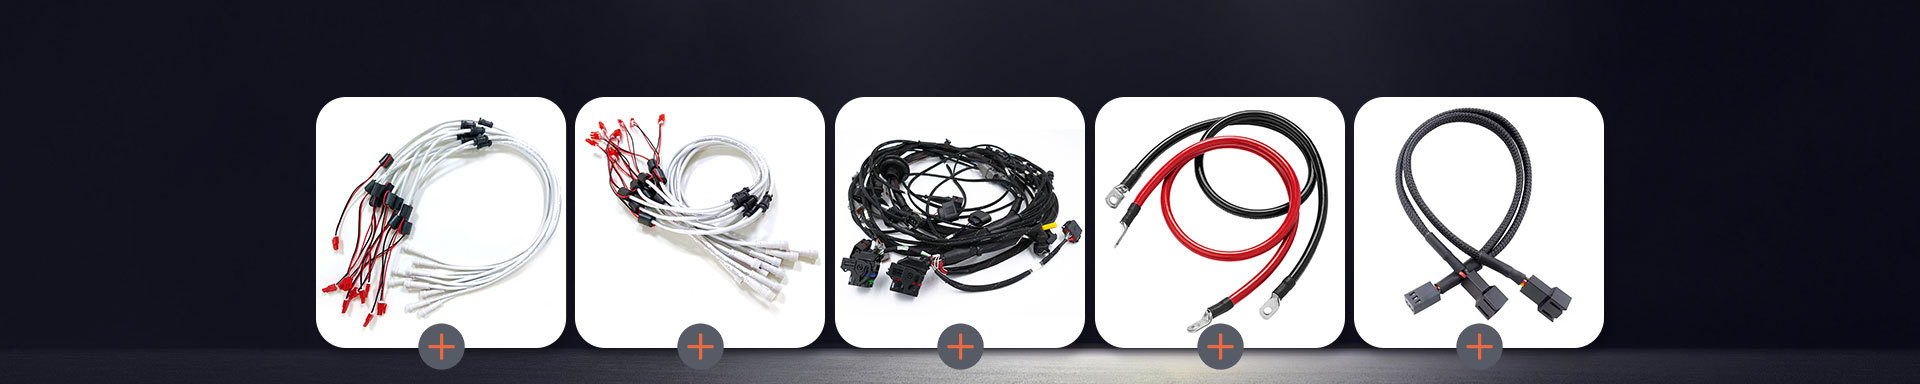
Stay calm and check each part of your Cable Assembly first.
Try these easy steps before calling for help.
Quick action often brings good results.
Tip: You do not need special tools to fix most cable issues.
Key Takeaways
Always check cable connections. Loose cables can make things stop working.
Look at cables for any damage. If you see cracks or burns, change the cable right away.
Clean connectors and ports often. Dust can make signals weak and slow down your devices.
Keep cables neat and untangled. Use clips and ties to stop tangles and keep your area tidy.
Try using other cables or devices. This helps you know if the problem is with the cable or the device.
1. Check Cable Assembly Connections
Spot Loose Connections
Many cable problems happen because of loose connections. Look at both ends of your Cable Assembly. Make sure each plug fits tightly in its socket. If a connector moves or feels loose, push it in until it feels tight. Loose connections can make devices stop working or lose signal.
Gently pull each connector with your hands. If it comes out easily, it is not secure. Sometimes, cables slip out when someone moves a device or bumps it. In offices, people move computers or printers, which can loosen cables. At home, pets or kids might pull on wires.
Tip: Always check both ends of the Cable Assembly. Problems can happen at either end.
Secure Fasteners
After you find loose connections, look for fasteners or clips. Many Cable Assembly designs use screws, latches, or locking tabs. Tighten screws with your fingers or a small screwdriver. If you see a latch, press it down until it locks. For clips, snap them shut so the cable stays in place.
Some assemblies are simple and only have a plug and socket. Others are complex and have many connectors and fasteners. In complex assemblies, check each connector one by one. Make sure every fastener is tight. If you find a broken clip or latch, use a zip tie or tape to hold the cable until you can fix it.
Here is a table that shows common reasons for connection failures:
| Cause of Failure | Description |
|---|---|
| Environmental Conditions | Sun, UV, or chemicals can hurt wire jackets. |
| Mechanical Damage | Hard pulls or bending can break connectors. |
| Manufacturing Defects | Bad crimps or poor solder joints can cause problems. |
| Aging Effects | Materials get old and work less well over time. |
| Improper Strain Relief Design | Bad design puts stress on connectors and causes failures. |
| Exceeding Maximum Pull Force | Pulling too hard can break connectors and damage the Cable Assembly. |
You can stop many problems by making sure connections and fasteners are secure. This helps your Cable Assembly work better and last longer.
2. Inspect Cable Assembly Damage
Visual Signs of Wear
You can find damage on your Cable Assembly by looking closely. Check the outside of each cable for any problems. Search for cracks, cuts, or scrapes. These marks mean the cable’s covering is worn out. If you see spots that look burned or melted, heat has hurt the cable. Sometimes, you might see shiny or faded areas. These show the cable touched heat or chemicals. Bending or crushing can also break the cable. If you spot wires sticking out or ends that look messy, the covering is broken.
Here is a table that lists common signs:
| Indicator Type | Description |
|---|---|
| Cracks, cuts, or abrasions | Damage you can see on the outside part |
| Signs of overheating | Burned, melted, or blackened spots |
| Physical damage | Marks from bending, crushing, or hitting |
| Exposed conductors or frayed wires | Broken covering with wires showing |
| Jacket discoloration/glazing | Shiny or faded spots from heat or chemicals |
| Jacket cracking or abrasion | Bad wear that lets water or dirt get in |
| Corkscrewing or deformation | Twisted or stretched cable that looks stressed |
Tip: Always check cables in good light. It helps you see damage better.
Actions for Damage
If you see damage, do something right away. Unplug the Cable Assembly from everything. Do not use cables with wires showing or melted spots. Water inside a broken cable can make a short circuit. If you find small cracks or scrapes, wrap them with electrical tape for now. Get a new cable as soon as you can. If the cable is badly burned or bent, throw it away. Never try to fix cables with glue or regular tape.
Follow these steps:
Unplug the cable that is damaged.
Look at the whole cable for more damage.
Put electrical tape on small cracks until you get a new one.
Replace cables with wires showing or melted parts.
Keep broken cables away from water and heat.
⚠️ Note: Broken cables can start fires or shock you. Always get a new one if you are not sure.
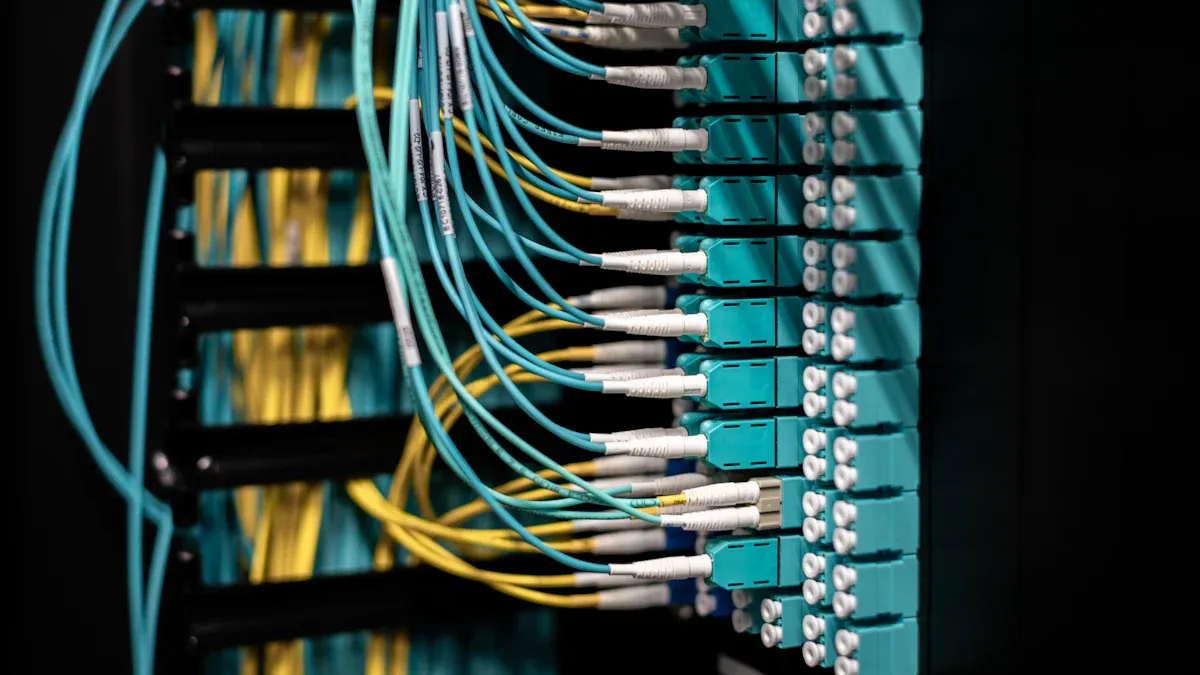
3. Clean Connectors and Ports
Cleaning Tools
You can keep connectors and ports working well if you clean them. Experts say some tools are best for cleaning. You do not need to buy expensive things. Most tools are easy to find at stores or online.
Here is a table that lists the best cleaning tools and how to use them:
| Cleaning Tool/Method | Description |
|---|---|
| Specialized cleaning tools and solutions | Designed specifically for fiber optics to ensure effective cleaning. |
| Mechanical push-activated cleaners | Fast and reliable; cleans connector end-faces with an audible 'click' and optical grade cleaning tape. |
| Isopropyl Alcohol | Spectroscopic-grade 99% isopropyl alcohol is the industry standard; evaporates quickly and leaves no residues. |
| Cleaning Cassettes | Feature a reel of cleaning ribbon for multiple uses; cost-effective for large-scale cleaning needs. |
| Cleaning Swabs | Specialized for precise cleaning in hard-to-reach areas; essential for maintaining clean connections. |
You can use isopropyl alcohol and cleaning swabs for most home cables. For fiber optic cables, use special tools and cleaning cassettes. Always clean gently so you do not break anything. Never use water or home cleaners because they can leave stuff behind or hurt the cable.
Tip: Clean connectors and ports before you plug in cables. This keeps dirt out of your devices.
Improve Signal Quality
Cleaning connectors and ports helps your devices work better. Studies show dirty or broken connectors cause most fiber network problems. Even a tiny bit of dust can block light and make the signal weak. If connectors are dirty, you might get slow internet, dropped calls, or blurry video.
Things that hurt signal quality are:
Dust particles: These can scratch or block the connector end-face.
Skin oils: Fingerprints can disrupt the light path and cause signal loss.
Moisture and condensation: These trap dust or form a film that weakens transmission.
You should clean connectors and ports often. Even small bits of dirt can make things worse. Clean cables help your devices run faster and better. You can stop many problems by keeping connectors and ports free from dust, oil, and moisture.
Note: Cleaning often is an easy way to keep your cable assemblies working well.
4. Untangle and Organize Cables
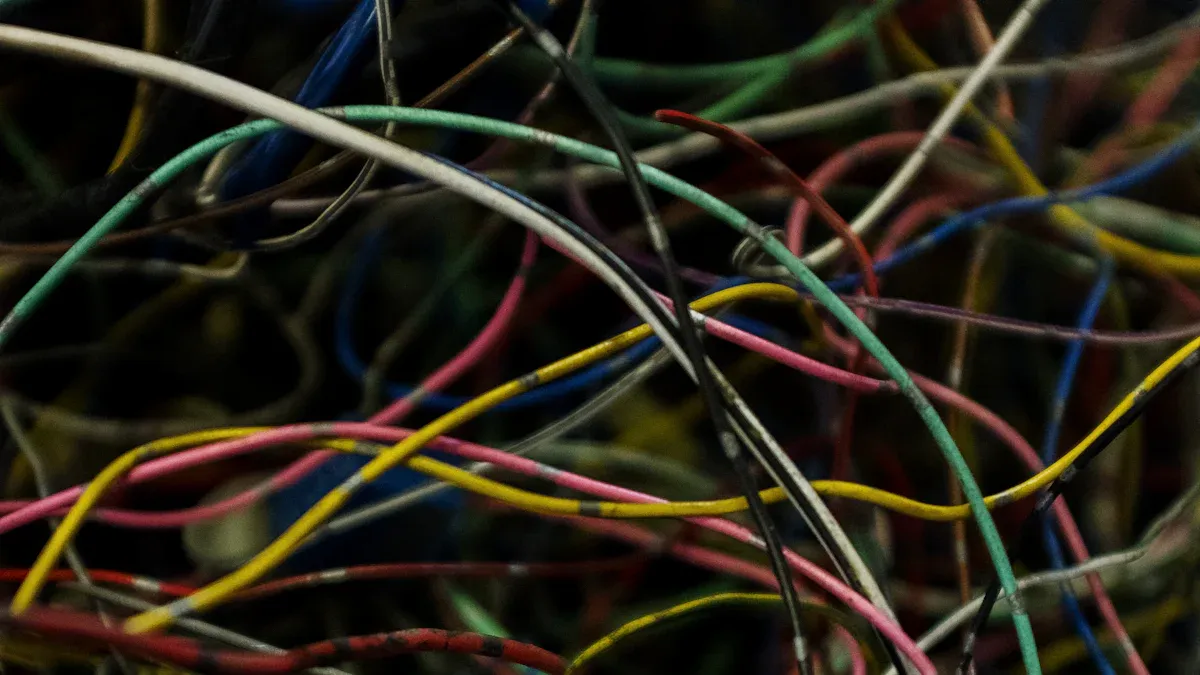
Fast Untangling
You can fix tangled cables fast if you use good steps. First, put all cables on a flat table. Use your fingers to gently pull each cable apart. Do not yank or pull hard. This can break the wires inside. If you see knots, loosen them slowly and carefully. Braided cables do not tangle much and last longer. Cable organizers help keep cables together and make untangling easier.
Here are ways to untangle cables without breaking them:
Use Braided Cables: These cables are strong and do not tangle much.
Utilize Cable Organizers: Clips and sleeves keep cables neat and tidy.
Learn Effective Coiling Techniques: Make loops with cables to stop knots.
Implement Labeling and Color Coding: Mark cables so you find them fast.
Regular Maintenance: Check cables often and fix tangles right away.
Tip: Untangle cables slowly and gently. If you rush, you might break wires.
Prevent Future Tangles
You can stop cables from tangling by keeping them neat. Use trays, ties, clips, and sleeves to hold cables in place. These tools help keep your space clean. Look for spots where cables pile up, like under desks or behind screens. Bundle cables together and tie them so they do not move.
Here are ways to keep cables from tangling:
Use cable management tools to keep cables neat.
Organize cables often and check for tangles.
Find messy spots and clean them up.
Bundle and tie cables to stop knots.
Do not crowd cables so air can flow and keep them cool.
Note: Neat cables help your devices work better and keep your space safe.
These easy steps help you keep cables neat and untangled. This saves time and protects your devices. Clean cables make it easy to find and fix problems.
5. Test with Alternate Cable or Device
Isolate the Issue
You can solve cable problems faster if you test with another cable or device. Swap the cable with a known working one. Plug it into the same port. If your device works, the original cable is faulty. If the problem stays, try a different device with the same cable. This step helps you find out if the issue comes from the cable or the device.
You should follow these steps to isolate the issue:
Use a cable that you know works well.
Try the cable in another port or device.
Check if the device works with a different cable.
Note any changes in performance or signal.
Tip: Always use original or certified cables for testing. Cheap cables can cause more problems.
Here is a table to help you track your testing:
| Test Step | Result | What It Means |
|---|---|---|
| Swap cable | Works | Original cable is faulty |
| Swap cable | No change | Device or port may be faulty |
| Try another device | Works | Original device is faulty |
| Try another device | No change | Cable or port may be faulty |
Next Steps
If swapping cables or devices does not fix the issue, you need to try more steps. You can follow this checklist to solve stubborn problems:
Use a high-quality cable, like an original or Apple MFi certified one.
Clean the charging port with a non-metallic tool to remove debris.
Update iTunes to the latest version to fix bugs.
Update your operating system if an update is available.
For Windows users, update the driver software that manages the connection.
As a last resort, restore your device to factory settings. This erases all data but can fix persistent issues.
⚠️ Note: Restoring your device deletes all data. Back up important files before you do this.
You can fix most cable problems by testing with alternate cables or devices. If the issue remains, follow the checklist above. These steps help you find and fix the root cause quickly.
You can solve most Cable Assembly problems fast by following these five tips.
Check connections, look for damage, clean parts, untangle wires, and test with another device.
These steps help you fix issues right away.
If problems do not go away, ask a professional for help.
Quick action keeps your devices safe and working well.
FAQ
How often should you check your cables for problems?
You should check your cables every few months. Look for damage, loose connections, or dirt. Regular checks help you catch issues early and keep your devices working well.
What should you do if a cable feels hot?
Unplug the cable right away. A hot cable can mean a problem. Replace it if you see damage or if it keeps getting hot. Using a damaged cable can be unsafe.
Can you use tape to fix a broken cable?
You can use electrical tape for small cracks as a short-term fix. Do not use regular tape. Replace the cable as soon as possible for safety.
Why does cleaning connectors help?
Dust and dirt block signals. Cleaning connectors removes these and helps your devices work better. Use isopropyl alcohol and a soft swab for best results.
What is the safest way to untangle cables?
Lay cables flat on a table. Gently pull them apart with your fingers. Do not yank or twist. Use cable ties or clips to keep them neat after untangling.