
How to Make Custom Power Cords for Your Unique Projects
2025-08-05 15:46You want to make custom power cords for your special project. Many people now look for special solutions as the need for good and custom power grows. In 2023, the PDU power cords market was about USD 1.3 billion. It may grow to USD 2.4 billion by 2032. This growth shows more projects need custom power cords for exact needs. Custom cords help keep your equipment safe and working well. Xiamen Evershine gives expert help, good materials, and support for any custom wiring solution.
Key Takeaways
Find out your device’s voltage and current needs first. This helps you pick safe and working materials. Pick the right plug and connector types for your device. Make sure they fit your outlet to stop damage and danger. Use good, certified materials like UL-listed wires and strong insulation. This keeps your cords safe and long-lasting. Measure and cut cables with care. Strip wires neatly so you get strong and steady connections. Attach connectors tightly. Check wire polarity. Add strain relief to stop your cord from breaking. Test your finished cord by looking at it and doing electrical tests. This helps you find and fix problems early. Keep your workspace neat and follow safety rules. This helps you make cords that last and work well. For hard or high-power projects, ask professionals or trusted companies like Xiamen Evershine for help.
Power Requirements
You need to know your project’s power needs before you start. This helps you pick the right materials. It also makes sure your cord is safe and works well.
Voltage and Current
Check what voltage and current your project uses first. You can find this in the manual or on the device label. Most home devices use 120V or 240V. Some tools or machines need more voltage.
Tip: Always use a cord with the same voltage and current rating as your device. The wrong cord can get too hot or break.
You also need to check the current, which is in amperes (A). The cord must handle the most current your device uses. If the wire is too thin, it can get hot. Follow these steps:
Find out your device’s voltage and current.
Pick a wire gauge that can handle the current. Thicker wires are safer for more current.
Make sure the cord’s insulation fits the voltage.
Note: Groups like NEMA and IEC have rules for safe voltage and current. Always check these rules for your project.
Plug and Connector Types
Now, pick the right plug and connector types. There are many choices for different places and devices. You must match the plug and connector to your device and outlet.
The table below shows how many types there are:
There are many connector types like IEC, US, AU/NZ, Schuko, and UK. Each one fits different outlets and devices. For example, IEC is used for computers. Schuko is used in Europe.
Tip: Check your device and outlet before picking a plug or connector. This keeps things safe and makes sure it works.
Safety Needs
Safety is the most important thing when making a custom power cord. Use materials that meet safety rules. Look for UL-listed or certified parts. These pass tough tests for fire and strength.
Check all connections to make sure they are tight.
Use good insulation to stop electric shocks.
Add strain relief so wires do not get pulled or bent.
Reminder: Always follow NEMA or IEC rules for your area. If your project is big or hard, ask a pro or a trusted company like Xiamen Evershine. This makes sure your cord is safe and high quality.
If you check voltage, current, plug types, and safety, you will have a good start for your custom power cord project.
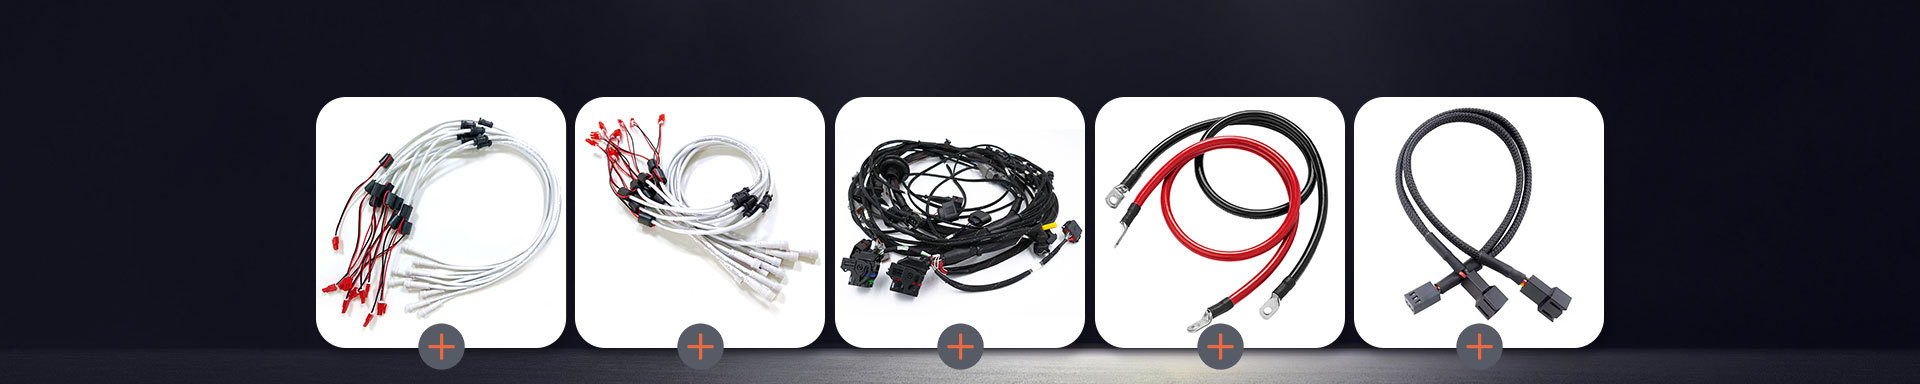
Custom Power Cords: Materials and Tools
Picking the right materials and tools is very important. This helps you make safe and strong custom power cords. Good materials keep your devices safe. They also help your cords last longer, even in hard places. Xiamen Evershine Electronic Technology Co., Ltd. is a leader in this area. They give you custom help, quick service, and check quality very carefully.
Cable and Wire Gauge
You need to pick the right cable and wire gauge for your project. Each wire gauge can carry only a certain amount of current. If you use a wire that is too thin, it can get too hot and may start a fire. Thicker wires can carry more current and keep your devices safe.
Copper wires are best for carrying electricity and have low resistance.
Aluminum wires do not rust easily and last a long time.
Insulation like PVC, TPE, or rubber keeps out water, chemicals, and heat.
Tip: Always use the right wire gauge for your device’s needs. For example, 14-gauge wire can carry up to 15 amps. 12-gauge wire can carry up to 20 amps. This stops voltage drops and keeps your equipment working well.
Custom power cords made for outside or wet places use special insulation. This gives extra safety. It also makes them easier to take care of and saves money over time.
Plugs and Connectors
The right plugs and connectors make sure your custom power cords fit your devices and outlets. You should pick connectors made from strong materials like brass or nickel-plated brass. These materials help your cords work better and last longer.
Pick from types like IEC, US, AU/NZ, Schuko, or UK, based on where you live and your device.
Look for safety parts like strain relief, grounding wires, and locks to stop cords from coming loose.
A good connector fits well and keeps you safe from electrical dangers. Xiamen Evershine has many plug and connector choices. You can find the best one for your project.
Tools Needed
The right tools help you build custom power cords safely and correctly. Using good tools makes sure every connection is tight and meets the rules.
Wire cutters and strippers help you cut and strip wires neatly.
Crimping tools help you attach connectors tightly.
Soldering irons make strong and safe joints.
Multimeters help you test if everything works and is safe.
Quality checks depend on using the right tools at each step. Testing tools like continuity testers and hipot testers help you check your work and stop mistakes. Companies like Xiamen Evershine use strict rules and good tools to make sure their products are safe.
Using the right materials and tools is the first thing you need to do to make custom power cords that last. You keep your devices safe, make sure everything works, and get the best results for your project.
Preparation Steps
Measuring and Cutting
First, measure how long your custom power cord should be. Use a tape measure to check the space from your device to the power source. Add a little more length so you can move things around. Mark the cable with a marker or some tape where you want to cut it. Use sharp wire cutters to cut the cable straight. A straight cut stops the ends from getting messy. This also makes the next steps easier. Always check your measurement again before you cut. If you make a mistake now, you might waste cable and time.
Tip: If you are working in a busy place or have many cords, label each piece after you cut it. This helps you stay organized and stops you from mixing things up.
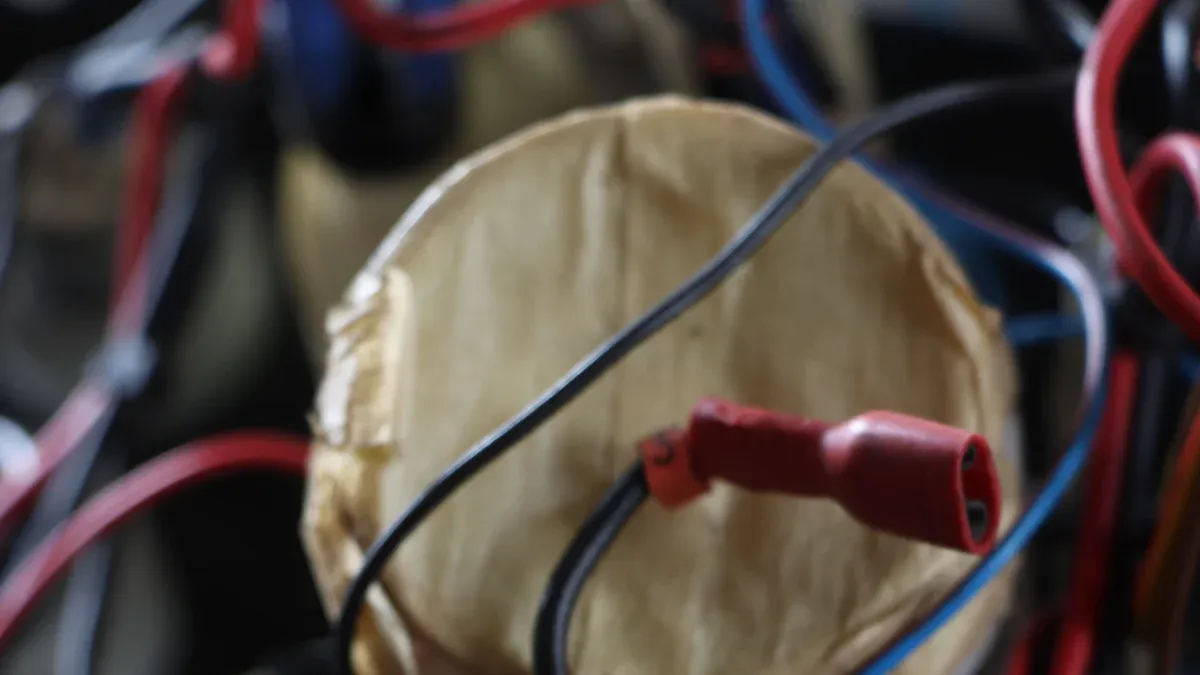
Stripping Wires
After you cut the cable, you need to take off the insulation from each wire. This lets you see the metal inside, which you will connect to plugs or terminals. Use a wire stripper that fits your wire gauge. Put the wire in the right slot, squeeze, and gently pull off the insulation.
Use sharp tools and be careful so you do not hurt the wire.
Do not leave gaps in the insulation, or you could get shorts or weak spots.
Clip-type connectors can break wire strands and cause problems.
Take your time and set up your workspace so you do not make mistakes.
Good splicing and insulation protection are very important for safety.
Be careful when stripping wires so you do not break the conductor or insulation. This keeps you safe and helps your cord work well. Using better cables or high-quality strippers can make things safer and better. In factories, workers follow strict rules to avoid missing strands or hurting the insulation. Clean, neat strips are needed for a strong connection.
Note: Machines that strip wires can help stop short circuits and make better connections. Always look at your work before you move to the next step.
Organizing Parts
Before you put everything together, sort all your parts and tools. Lay out your plugs, connectors, wires, and tools on a clean table. Put things that are the same together. This saves time and helps you not make mistakes when you build.
Organizing your parts follows rules like NFPA 79 and IEC 60204-1. These rules help you route cables and use connectors the right way. Good cable management keeps your area neat, stops accidents, and protects your cables. It also makes fixing things later much easier.
Keeping your workspace clean and your parts sorted helps you build custom power cords faster and with fewer mistakes. This careful work helps your finished product last longer and work better.
Assembly Guide
Making custom power cords takes care at every step. You must follow steps in order to keep things safe and working well. Doing each step in order helps you not make mistakes. It also helps you work faster. For example, Boeing used step-by-step guides for wire harnesses. This helped them make fewer mistakes and save time. Companies like Technical Cable Applications use a plan that starts with wire prep and ends with checking the cord. You can get good results if you follow each step closely.
Attaching Connectors
Putting connectors on is an important part of making custom power cords. You need to put each wire in the right spot inside the plug or socket. This step helps your cord work well and last longer.
Securing Wires
First, put each stripped wire into the right terminal. Use a screwdriver or crimping tool to make it tight. Make sure no wire strands stick out. Tight wires stop overheating and electrical problems.
Check that each wire is in the right place.
Use the right tool for your connector.
Do not make it too tight or you could break things.
Tip: Overmolding the connector area makes your cord stronger. This covers the joint with a tough, bendy material. It keeps out water and stops bending or pulling. Overmolding also makes your cord look neat and stops tampering.
Good ways to attach connectors, like overmolding, help a lot:
Cable and connector become one strong piece.
The cord bends better where it leaves the plug.
It protects from scrapes, bumps, and drops.
It seals the inside parts and stops tampering.
It gives strain relief all around and more pull strength.
It can make the cord water-resistant or waterproof.
It looks better and is easier to install.
These steps help your custom power cords last longer and work better.
Polarity Check
After you secure the wires, check the polarity. This means making sure each wire goes to the right spot. For AC cords, match live, neutral, and ground wires. For DC cords, match positive and negative wires.
Use color codes or labels so you do not mix up wires.
Look at your device’s wiring diagram if you are not sure.
Use a multimeter to test and make sure wires are right.
Note: If you get polarity wrong, your device can break or be unsafe. Always check before you move on.
Insulation and Strain Relief
Once connectors are on, cover the bare wires. Slide heat-shrink tubing or sleeves over the joints. Use a heat gun to shrink the tubing tight. This keeps out dust, water, and stops short circuits.
Next, add strain relief. Strain relief protects the cord where it meets the plug or connector. It stops wires from pulling out or breaking when you bend or tug the cord.
Use built-in strain relief if your connector has it.
For more safety, wrap with electrical tape or use a molded boot.
Good insulation and strain relief keep your cord safe and help it last longer. They also help your cord pass safety checks.
Final Assembly
Now, put all the parts together. Close the connector housing and tighten screws or clamps. Make sure everything fits well and nothing moves inside.
Before you finish, test your work. How well you put things together affects how your cord works. You should do these checks:
Visual Test: Look for neat work, right parts, and no big problems.
Continuity Test: Use a multimeter to check for breaks or high resistance.
Hipot Test: Use high voltage to check insulation and make sure there are no leaks.
Milliohm Test: Measure very low resistance, mostly for ground wires.
Pull Test: Gently pull the cord to check if wires and connectors stay tight.
Flex/Bend Test: Bend the cord a few times to see if it holds up.
These tests show your cord is safe, strong, and ready to use. Good assembly means your cord will last longer and keep your devices safe.
Following each step, like top companies do, helps you make custom power cords that are safe and work well.
Testing and Troubleshooting
Testing and troubleshooting are important steps when making custom power cords. You want to find problems before using the cord with your equipment. Careful testing helps you stay safe and keeps your devices working well. You should use different ways to check your work. Each way finds different problems.
Visual Inspection
First, look closely at your finished cord. Try to find any easy-to-see problems before doing electrical tests.
Make sure all wires are inside the connectors.
Look for copper showing or broken insulation.
Check that connectors are tight and not loose.
See if any wires are pinched, bent, or broken.
Tip: Bright lights help you see small issues. Use a magnifying glass if you need to see tiny things.
Studies show that just looking is not enough to find every problem. Some issues, like cut strands or hidden damage, may not show until you test with electricity. That is why you need more than just looking.
Continuity Test
A continuity test checks if electricity can go from one end of the cord to the other. This test helps you find breaks or loose connections.
To do a continuity test:
Set your multimeter to the continuity mode.
Put one probe on each end of the same wire.
Listen for a beep or look for a low number.
If you hear a beep or see a low number, the wire is good. If not, there may be a break or bad connection.
Test every wire in the cord, even the ground wires. Studies show that only using resistance tests may miss some problems, like cut strands. Using continuity, resistance, and intermittence tests together works best. This helps you find hidden problems that could cause trouble later.
Compatibility Check
After you know the cord works, check if it fits your device and outlet. Compatibility checks help you avoid electrical dangers and make sure your cord is right for your project.
Match the cord’s amperage and voltage to your device.
Check if the plug fits the outlet and the connector fits the device.
Make sure the cord follows NEMA or IEC rules for your area.
Look for clear labels that show what the cord is for.
Always check compatibility before plugging in your cord. This step keeps your equipment safe and protects your project.
Testing and troubleshooting help you find and fix problems early. You lower the risk of failure and make sure your custom power cord is safe and works well for your project.
Safety and Best Practices
When you make custom power cords, safety comes first. You should always follow good habits to stop accidents. This keeps your devices working well. Make sure your cords have important safety marks like UL listing. These rules protect you, your things, and anyone using your cords.
Double-Check Connections
Always check every connection before using your cord. Look at each wire and terminal to see if they are tight. Make sure each wire is in the right spot. If you see loose wires or metal showing, fix them fast. Check your cords often for cracks, cuts, or worn spots. If you find damage, fix or replace the cord before using it.
Checking your work helps you find mistakes early. Experts say a trained person should check all electrical tools, switches, and cords often. This habit lowers the chance of electrical danger and keeps cords safe.
Proper Insulation
Good insulation is very important for safe custom power cords. Use strong insulation that matches your cord’s voltage and heat needs. Good insulation keeps out water, oil, and heat. It also stops short circuits and keeps wires from touching.
Always use UL-certified cables and insulation.
Make sure insulation covers all bare wires.
Use heat-shrink tubing or molded boots for extra safety.
Here are some reasons why UL-certified insulation is important:
UL designs help stop failures and keep equipment working.
UL certification makes it easier to sell your products.
Certified cables fight off water, heat, oil, and stress.
UL 62 cables work in homes, factories, cars, and outside.
Avoiding Mistakes
You can stop many mistakes by following easy rules:
Always use the wiring diagram for your device.
Double-check the polarity of each wire.
Use the right wire size and connector for your project.
Never use broken or uncertified parts.
If your project is hard or uses lots of power, ask a pro or a trusted company like Xiamen Evershine. They can help you pick the right materials and make sure your cord is safe.
If you follow these best habits, your custom power cords will be safe and ready for any job. You keep yourself and others safe by making safety the most important thing.
You have learned the key steps to make safe and reliable cords for your projects. Always measure, cut, and assemble with care. Test each cord before use. Safety and quality matter most. For complex jobs or business needs, you can trust Xiamen Evershine to deliver expert solutions. If you need more help, look for guides or reach out to professionals for support and maintenance tips.
FAQ
What wire gauge should I use for my custom power cord?
You should choose the wire gauge based on your device’s current needs. For most home devices, 14 or 12-gauge wire works well. Always check your device’s manual for the correct size.
How do I know if my cord is safe to use?
Test your cord with a multimeter for continuity. Inspect all connections and insulation. Look for UL or similar safety marks on your materials. If unsure, ask a professional for help.
Can I use any plug or connector for my project?
No. You must match the plug and connector to your device and local outlet type. Using the wrong type can cause damage or safety risks. Always check compatibility before assembly.
What tools do I need to make a custom power cord?
You need wire cutters, strippers, a crimping tool, a screwdriver, and a multimeter. For better results, use a soldering iron and heat-shrink tubing for insulation.
How do I prevent my cord from breaking at the connector?
Add strain relief at the connector. Use molded boots or heat-shrink tubing. These protect the cord from bending and pulling, which helps your cord last longer.
Is it safe to make custom power cords for high-power devices?
You should only make high-power cords if you have experience and use certified materials. For complex or high-power projects, consult a professional or a trusted manufacturer like Xiamen Evershine.
How do I label my custom power cords?
Use tags, colored tape, or printed labels. Mark both ends of the cord with the device name or purpose. Clear labeling helps you avoid confusion and keeps your workspace organized.
Can I repair a damaged power cord myself?
You can fix minor damage if you have the right tools and skills. Replace any cord with deep cuts, exposed wires, or melted insulation. When in doubt, replace the cord or ask an expert.